
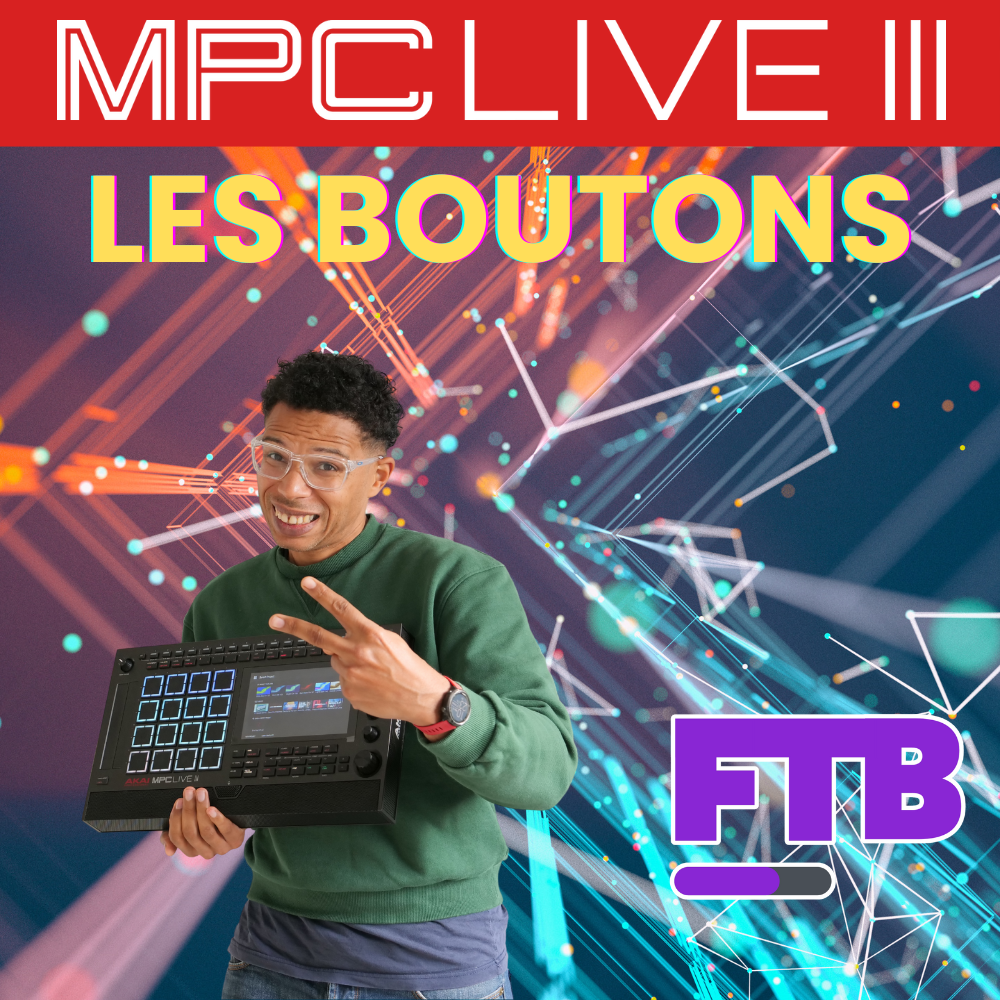
Third part of the series. In part 1, we laid the foundations (unboxing, capabilities, plug-ins). In part 2, we discovered the MPCe pads. Here, we map out the Live 3’s control buttons and see how they make arranging smoother.
What changes compared to the Live 2
On the Live 3, several dedicated buttons appear and refocus the workflow around MPC3 and the Arranger:
- Sounds: direct access to sounds (plug-ins, expansions, keygroups, Drum Programs, CV, Audio Tracks).
- Edit: opens the edit page depending on the track type (plug-in, drum kit, audio…).
- Arranger: instant access to the Arranger view (a DAW-style timeline).
- Loop On: turns looping of the current sequence on or off.
- Locate: a real new way of working on this MPC format; step/bar navigation and faster handling of locators.
- Mixer: direct access to the mixer (not new, but centralized).
- Transport: Rec, Overdub, Stop, Play, Play Start + +/-.
Key idea: the Live 3 makes hands-on the gestures that used to require going through the screen. The result: you build faster… and you start arranging earlier.
The Locate section: productivity in the Arranger
This is the block that changes everything if you want to work “DAW-style”:
- Event: step-by-step navigation (based on your Timing Correct).
- Start/End: jump to the start/end of the current loop, or move bar by bar.
- Create a locator: hold Locate then press one of the orange buttons to store a marker on the timeline.
- Recall a locator: hold Locate + the marker’s number. The playhead jumps to it and sets the start of the loop.
- Loop a section: select two locators → your current loop runs from one to the other.
Why it’s a game changer: you very quickly set your intro, verse, pre-chorus, chorus markers…, you navigate, you fix things and you listen back without breaking the flow.
The other controls that speed things up
- Mic On: turns the mic input on or off (handy for a quick take).
- Rec To Arrange: switches to the Arranger to “print” a performance (e.g. from Clip/Matrix) into the timeline.
- Shift + Sounds: Favorites.
- Shift + Edit: Event List.
- Shift + Arranger: Matrix (Ableton-style workflow, inherited from the Force; included with the MPC Pro Pack, preinstalled/activated on the Live 3).
- Shift + Mixer: inputs view with phantom and Link (1+2) options.
The buttons above the screen
- Copy, Notes, Timing Correct, Undo, Load, Save, Sample Edit, Track Mute.
- With Shift: Delete, Next Seq, Timing Correct On/Off, Redo, Project, Save As, Sampler, …
- It’s the “classic MPC” tool belt, but better integrated into the Arrangement logic.
The block above the pads
- Note Repeat, Full Level, 16 Levels, Erase + banks A to D (and up to H as an alternate action).
- Useful alternative actions:
- Note Repeat → Latch
- Full Level → User Levels
- 16 Levels → Chords
- Erase → Clear Track
Tip: Shift + 16 Levels can quickly turn a pad sample into a keygroup. Very handy for playing a melodic line from a one-shot.
The physical Step Sequencer: much more than a stepper
The Set button lets you choose the mode of the 16 keys above the screen. Among the most useful:
- Drum Seq and Note Seq: step-by-step rhythmic/melodic writing.
- Step Edit and Step Automation: fine tweaks to events and automation.
- Clip Launch: launching clips (performance workflow).
- Track Select / Track Arm / Track Mute / Pad Mute: ultra-fast session management.
- Next Seq: chaining sequences on the fly.
The idea isn’t to memorize everything at once. Start with Drum Seq to program your beats, then add Step Automation for life and movement.
A mini method to structure your track faster
- Mark your sections with Locate: place locators on 1 | 9 | 17 | 25, etc.
- Turn on Loop On and work on one section at a time (e.g. 1→9 = intro).
- Compose with the Step Sequencer (Drum Seq then Note Seq) and refine with Step Edit/Automation.
- Switch to Matrix (Shift+Arranger) if you want to try a clip-based performance.
- Rec To Arrange to capture the performance into the timeline.
- Arranger to finalize volumes, automation and transitions.
Shortcuts to remember
- Hold Locate + number: set/recall a locator.
- Shift + Arranger: Matrix (ideal for “playing” the structure).
- Shift + Mixer: inputs (phantom, link).
- Shift + 16 Levels: quick conversion to a keygroup.
- Undo / Redo: dare to experiment, you can always go back.
Key takeaways
- The Live 3 puts the Arranger at the center and makes essential gestures physical (locators, loop, access to Edit/Sounds/Mixer).
- Locate is the timeline’s best friend: clear markers, fast navigation, precise looping.
- The physical Step Sequencer isn’t just a stepper: it drives a whole constellation of modes covering everything from editing to performance.
- Using Matrix → Rec To Arrange together, you go from live playing to a version locked into the timeline, with no friction.
Leave a Reply