
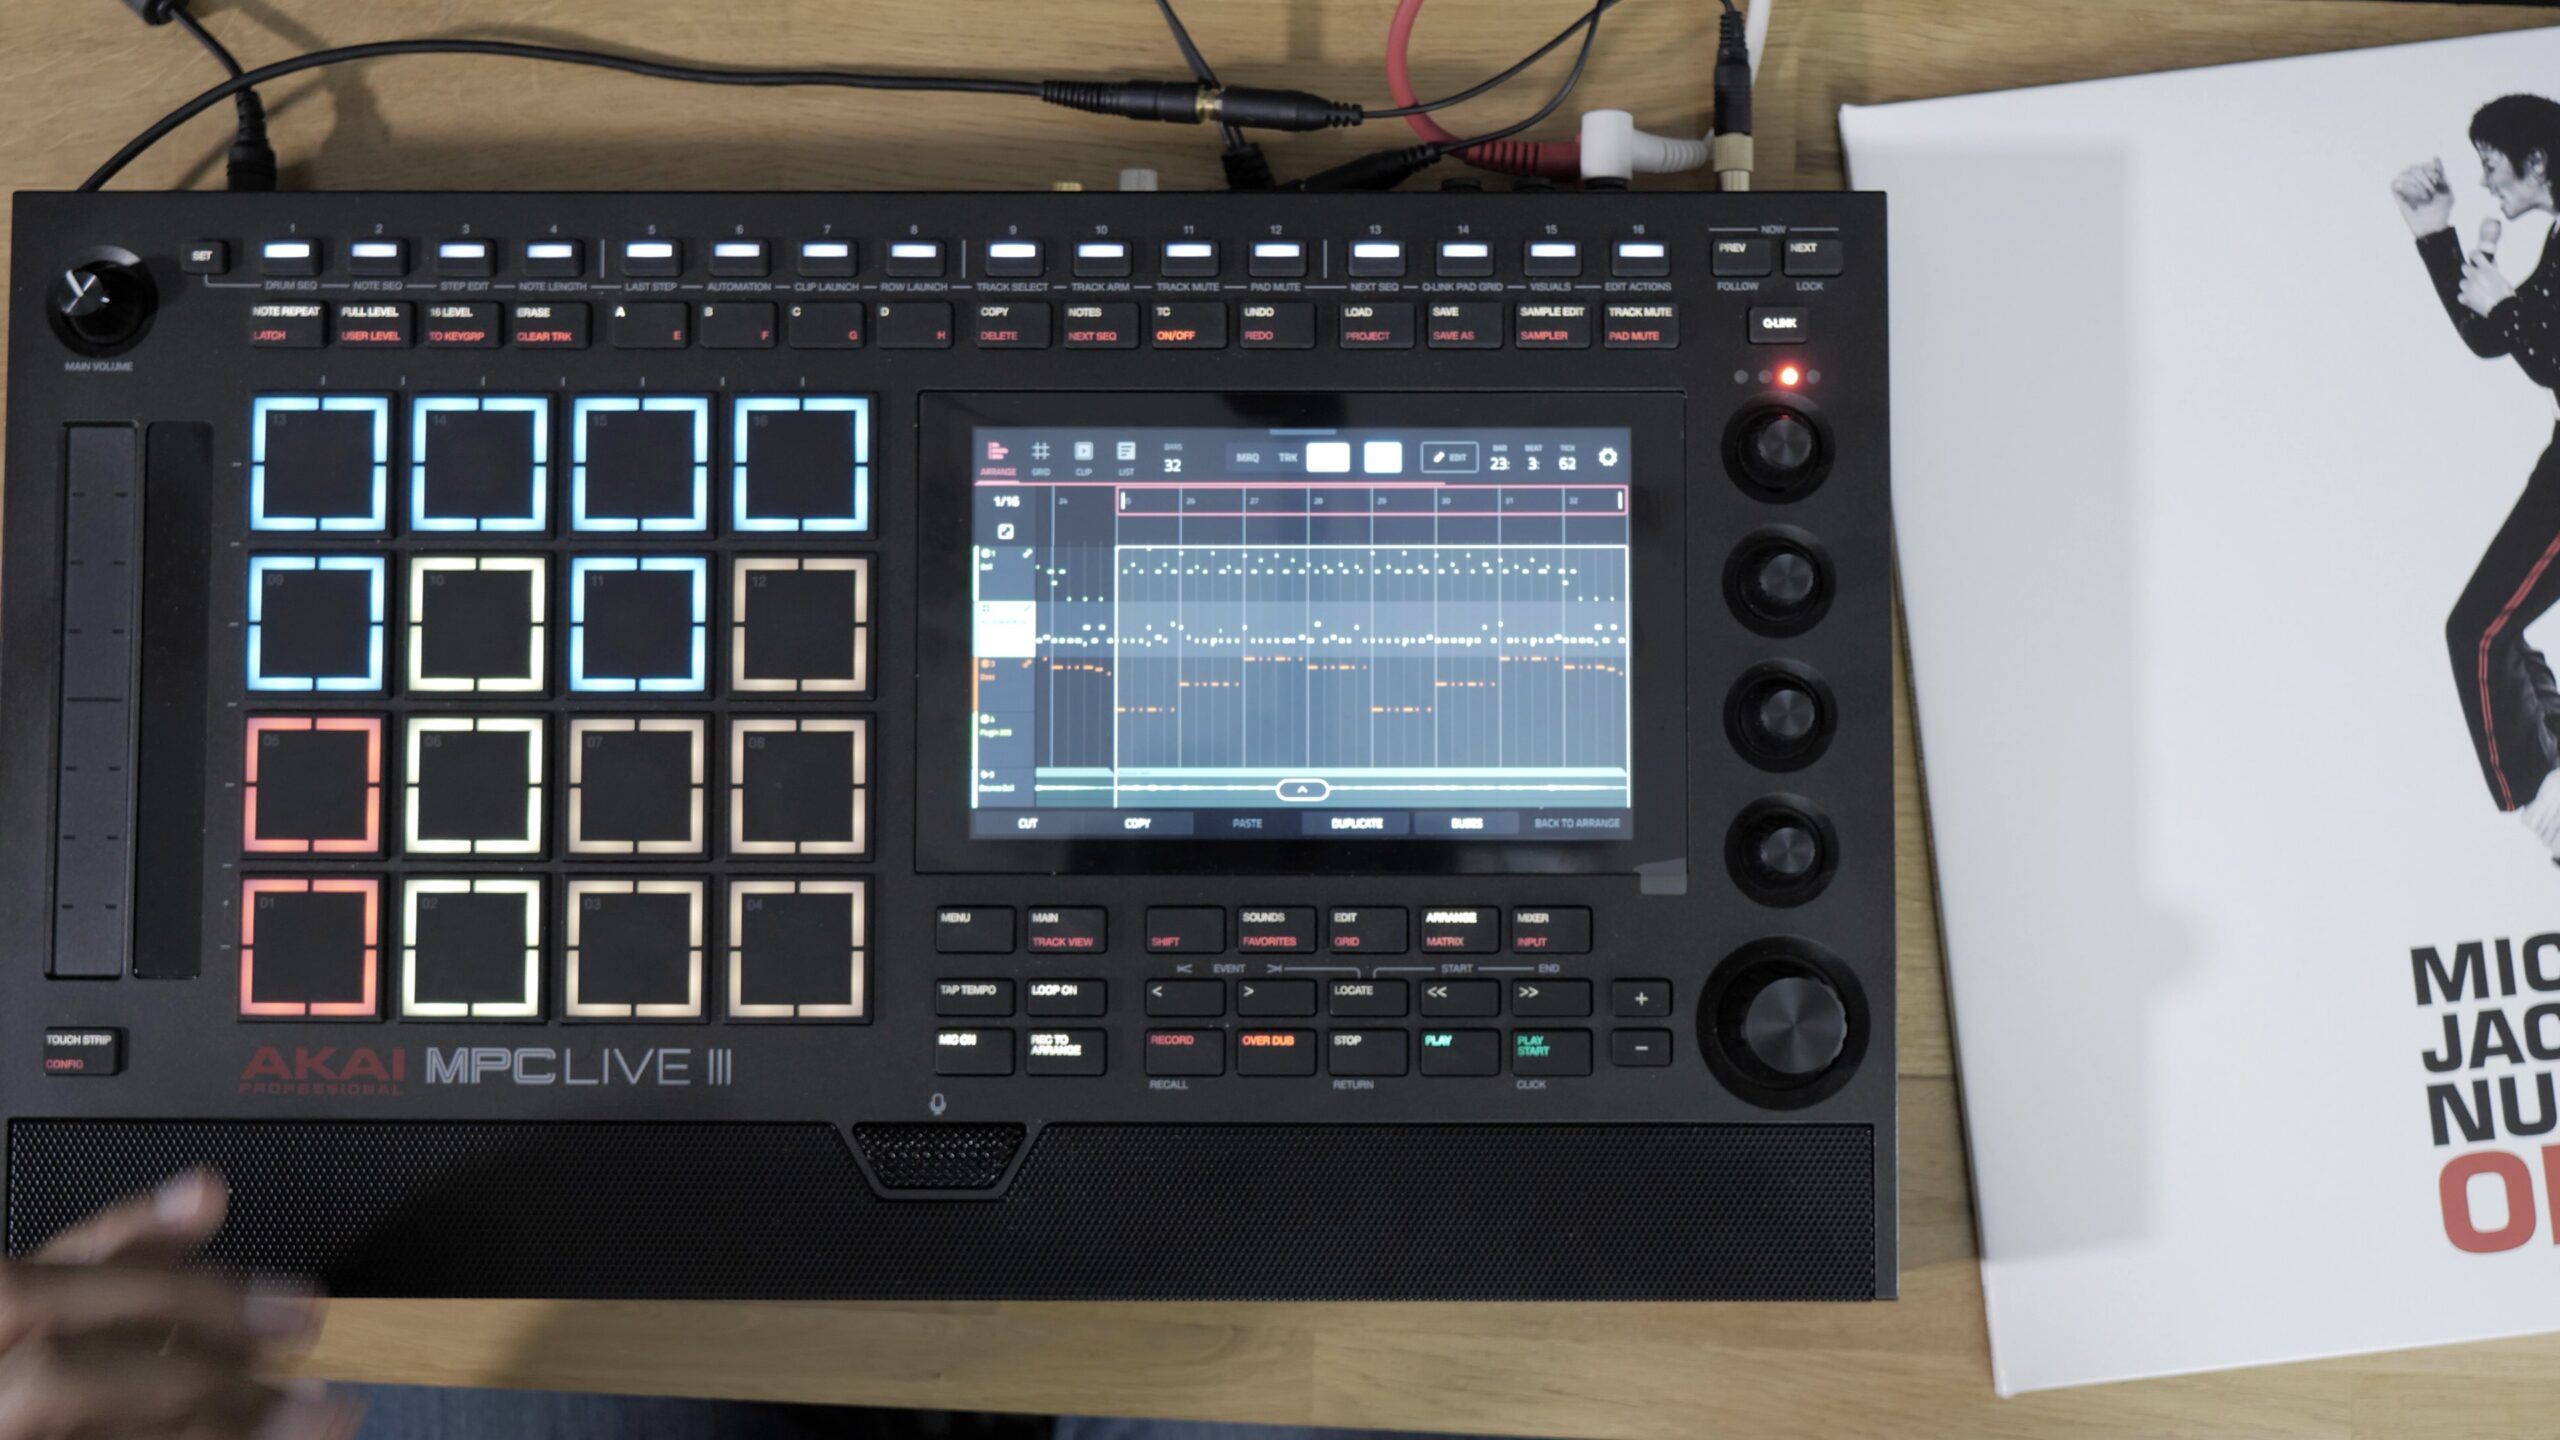
Akai reworked the MPC Arrange mode with the 3.10 update, and honestly, it changes the way you compose, arrange and build a track. It’s much smoother. Rather than giving you a list of new features, I’d rather show it to you in a real situation.
I start from a simple 8-bar loop region on my MPC Live 3, and I build a track step by step: with each duplication, I add an element, and the track grows on its own on the timeline. No sequences to assemble, no Song mode. Here I sum up everything I do, and the video shows you every move live.
The loop region in the MPC Arrange mode
A quick word on vocabulary before we start. You’ll hear me say “loop region” several times. In practice, it’s the loop bar (loop brace) at the top of the Arrange mode timeline. If it doesn’t show up for you, it may be turned off: just turn it back on.
In my demo, my loop region is 8 bars long: loop start at bar 1, loop end at bar 8. It’s at the heart of the new features in 3.10. Everything else revolves around it.
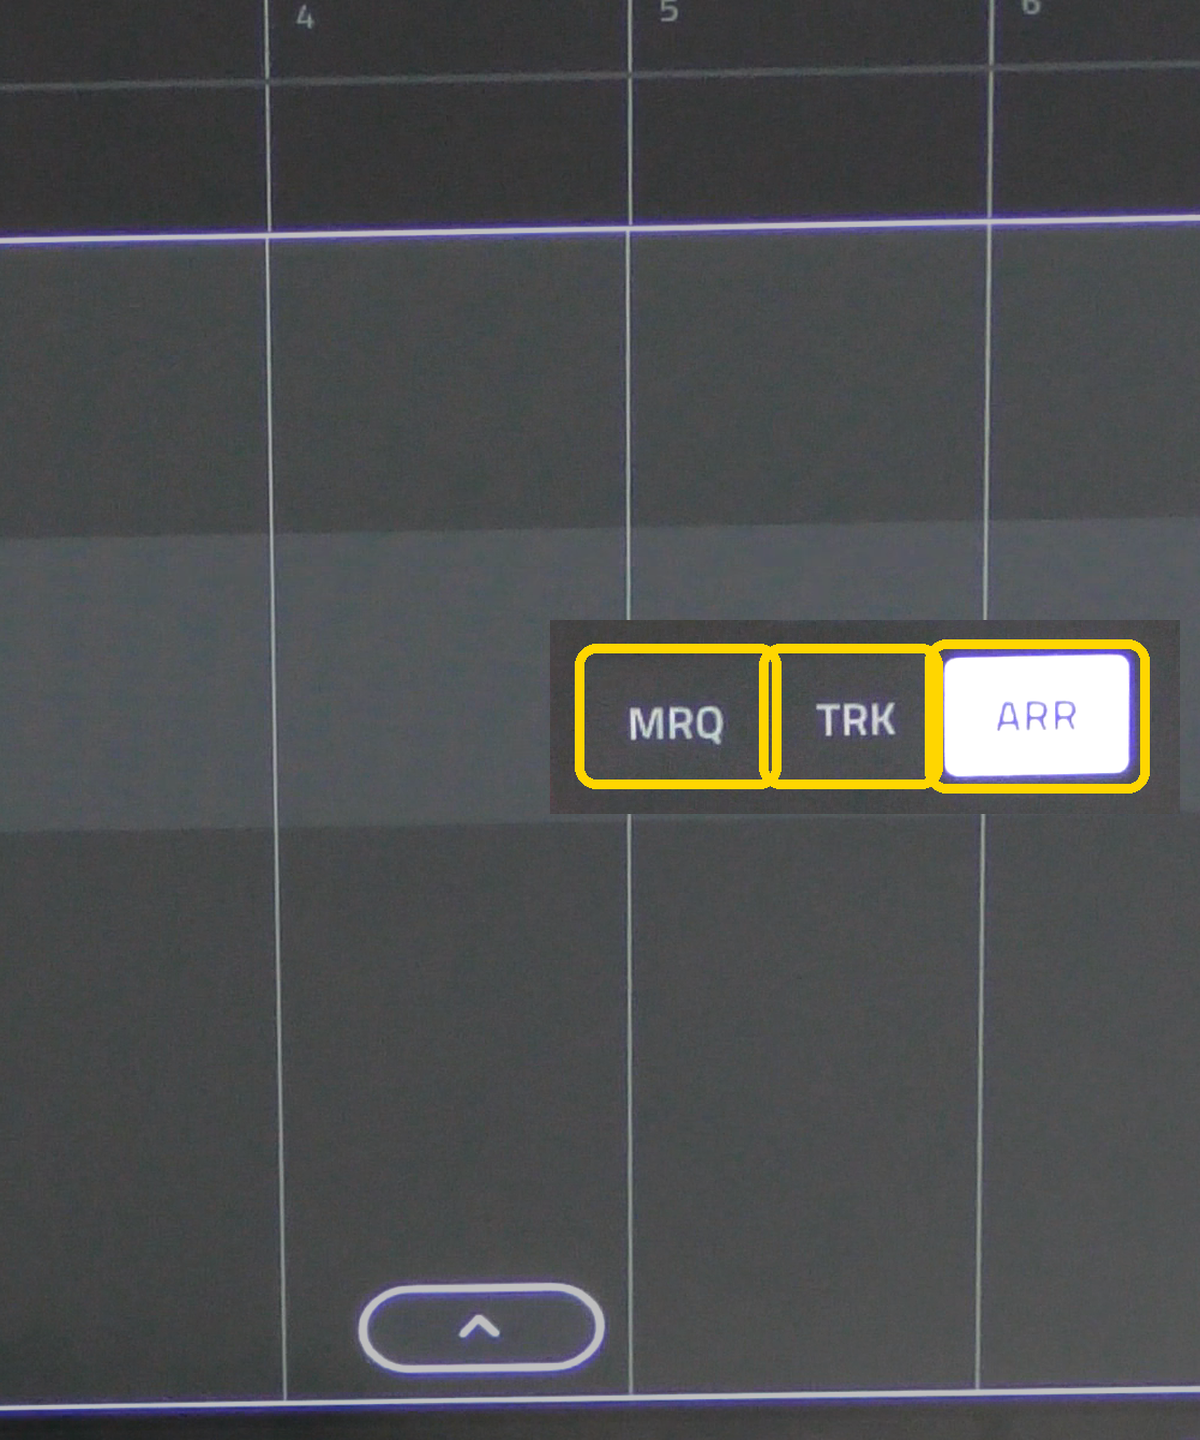
ARR, TRK and MRQ: the three selection modes of MPC 3.10
With 3.10, three buttons appear in Arrange mode. The white rectangle you see on the timeline is the selection, and each mode handles it differently.
- ARR (Arrange): automatically selects all the tracks in the loop region. If you add a new plugin track, it gets selected too
- TRK (Track): the selection is made automatically on the active track, within the loop region
- MRQ (Marquee): you select a specific section, on any track
Recording the bass and bouncing a track to an audio track
I start with the bass, over the 8 bars. A few settings before recording: I set Timing Correct to 1/16 and turn up the metronome volume (through Main), because while testing, I was having trouble staying in time. And if the metronome doesn’t kick in while recording: Record, then Shift + Play Start.
Next, I have a bell track I want to turn into audio. Long press on the track, then Bounce to Audio Track. The MPC bounces the 8 bars to a new audio track and automatically mutes the original track. Later in the video, I use this bounce to do a reverse (in Grid, I select with the arrow, then Reverse) and to add a stutter effect.
Duplicate and the jog wheel: the heart of the new workflow
This is where it gets really interesting. I press Duplicate, and watch the loop region closely: it goes from 1 to 8 to 9 to 16. The first 8 bars are duplicated, I now have 16 bars, and playback continues on the new part. Super smooth.
Another move to know: you select the loop region (it turns red) and with the jog wheel, you slide it wherever you want on the timeline. I use it to go back to bars 1 to 8, change the beginning, then head back to the end.
Erasing in Marquee mode, and the trap to avoid
Back on bars 1 to 8, I switch to Marquee mode, select the bass events and do a cut. The result: the track starts without the bass. Then I move the loop region back to 9 to 16 and record my cymbals.
Watch out for the trap. After working in Marquee, if you press Duplicate without changing modes, the MPC only duplicates what was selected (in my case, the bass). You need to switch back to ARR before duplicating, so the whole loop region gets copied.
Building the track duplication after duplication
Once you get the hang of it, it just flows. Duplicate, I add an element, Duplicate, I add another one:
- Bars 17 to 24: the snare
- Bars 25 to 32: the kick
- Bars 33 to 40: a new plugin track with a piano from Fabric XL, then a bass
- The reverse and the stutter on the bell bounce
Copying a track in Track mode
I still had to show you Track mode. In TRK, I select only the piano track and press Copy (up to now, we had only used Duplicate). I slide the loop region all the way to the start of the track with the jog wheel, then Paste: the piano is pasted onto the first bars.
My take on the MPC 3.10 Arrange mode
I’ll be honest with you: this way of working has changed the way I compose. I play, I duplicate, I add an element, and the track grows without me stopping. No need to create a sequence, duplicate it, remove or add elements, then make a song: everything happens on the same timeline.
In the video, I stopped to explain, to pick instruments and tracks. But once you’ve got the hang of it, you can pretty much start playback and let it run. And the pleasure of turning off the loop at the end, starting again from the top and discovering what you’ve built, that’s it, that’s satisfying. As someone who’s first and foremost a composer who loves arranging, I’m completely on board. I think a lot of thought went into this mode. Hats off, Akai.
And you, how do you build your tracks? Short sequences put end to end in Song mode, or straight in Arrange mode? Will you use these three new modes, or do you stick to a more traditional approach? Tell me in the comments, I’m really curious. Chase your dreams all the way!
Read also
- MPC 3.10: 64 pads, Arrange mode and MPC 3 Desktop finally stable
- MPC Live 3: the control buttons and the new arrangement workflow (Part 3)
Leave a Reply